How to send your custom email from Gmail via Sendgrid

Situation: you own a domain (e.g.: transang.me), now you want to use the email info@transang.me to send emails.
This blog post will show step-by-step how to do this with Sendgrid. With Sendgrid Freeplan, you can send up to 100 emails per day for free.
Important note: I only show you how to send emails from info@transang.me, NOT how to receive emails sent to info@transang.me. If you need to setup how to receive email, please check another blog post, for example
- Unlimited emails inbox outbox with just $0.81 per month for all users with sakura domain
- I also suggest you try the FreeDNS service by namecheap. It is free and the free email forwarding service is good enough.
You also need to setup a receiving mailbox, in order to bypass Step 8 and Step 9 of this blog post.
Step 1: Register your account at https://signup.sendgrid.com/
Step 2: Log in to sendgrid at https://app.sendgrid.com/.
In Settings -> Sender Authentication, authenticate your domain name.
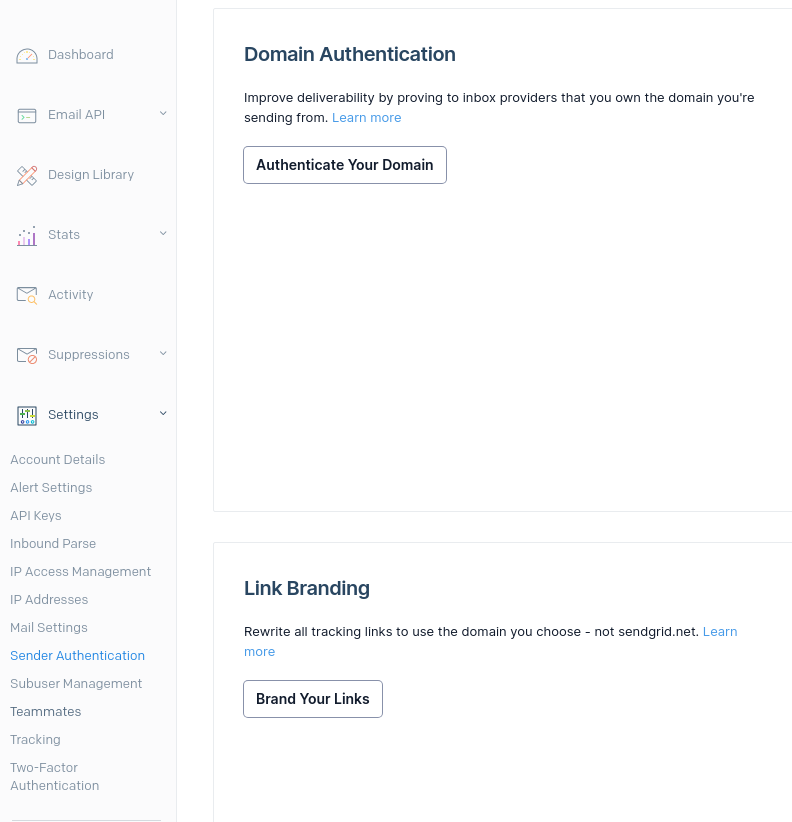
When authenticating, Sendgrid will ask you to setup several DNS records at the domain setting. And only the domain owner can do that.
Don't be worry if your domain has any other email agent that also is used to send emails. These DNS records do not affect them.
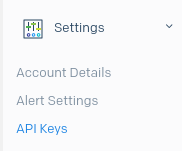
Step 3: Register a Sendgrid API key at Settings -> API Keys.
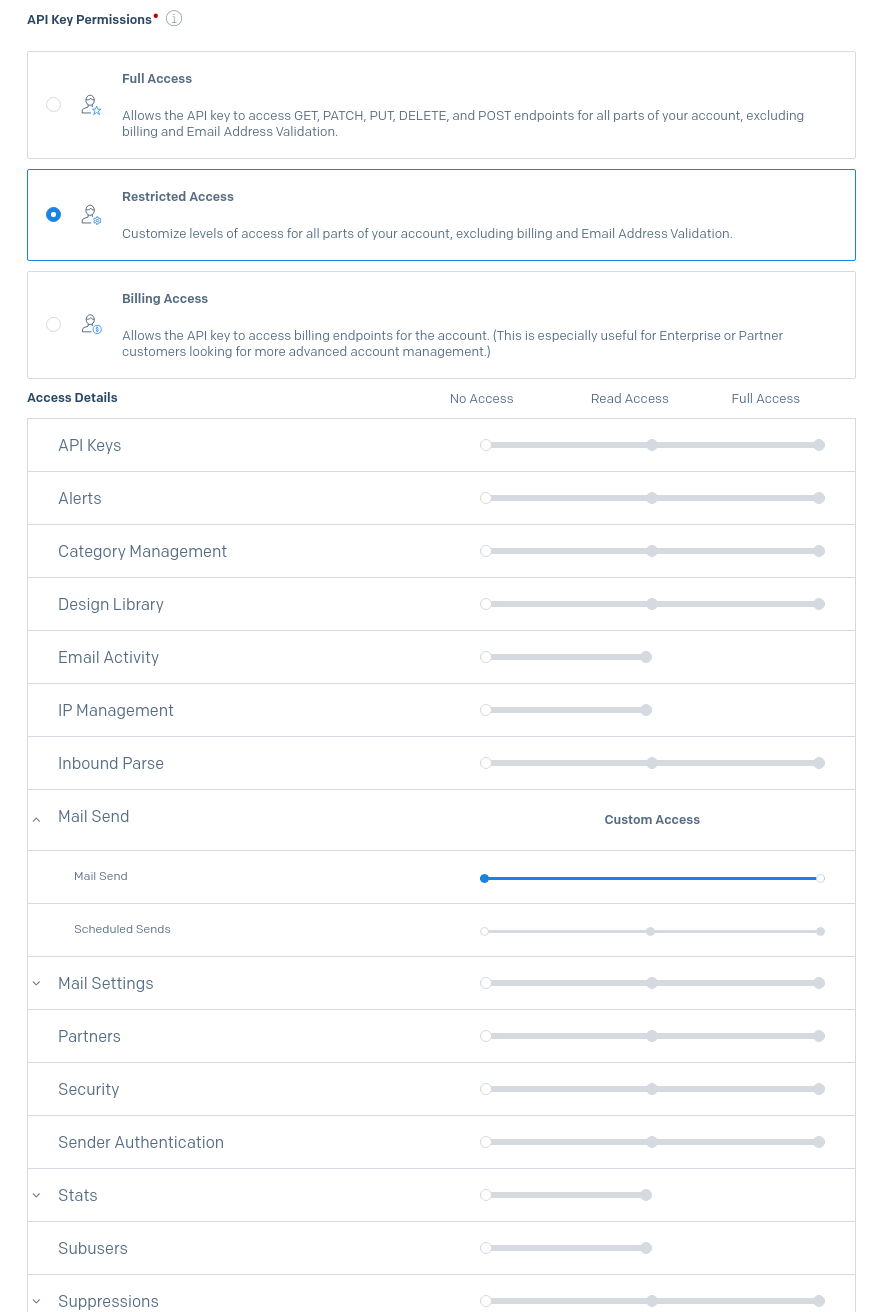
The API Key permissions must include the "Mail Send" permission (it is enabled by default with several other permissions). Other permissions can be enabled or not.
Remember to store the API key once it is revealed. Otherwise, you will never see it again.
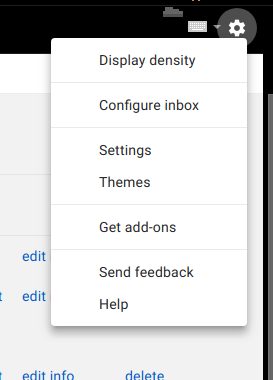
Step 4: Open your Gmail. Select Setting from Cog icon in Gmail, and "See all settings".
Step 5: Select Accounts and Import tab
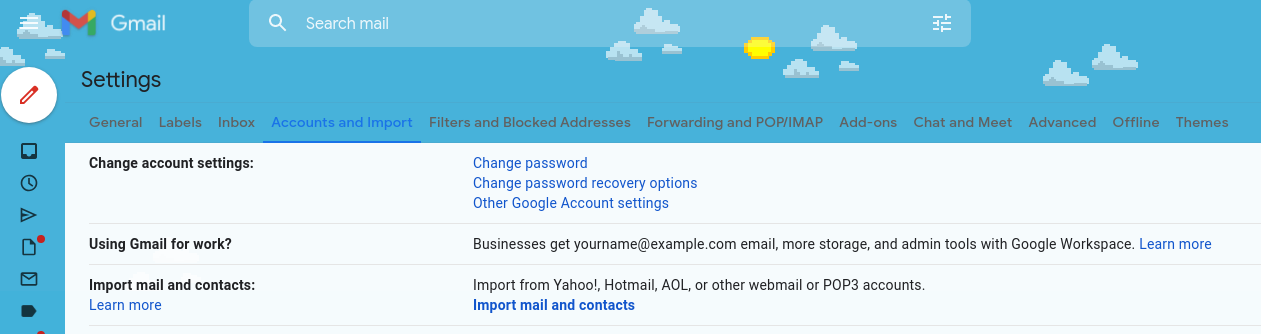
Step 6: In Send mail as:, click Add another email address

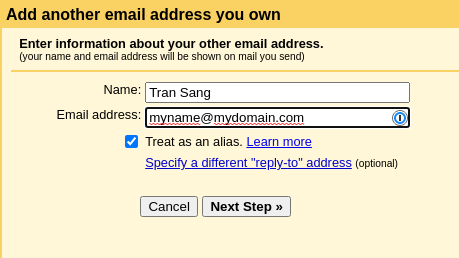
Step 7: Enter your name and your email for example myname@mydomain.com. And check (optionally) Treat as an alias. Goto Next step
Step 8: Enter the following info
SMTP Server: smtp.sendgrid.net
Username: apikey
Password: <your Sendgrid API key>
port: 587
Select: Secured connection using TLS (recommended)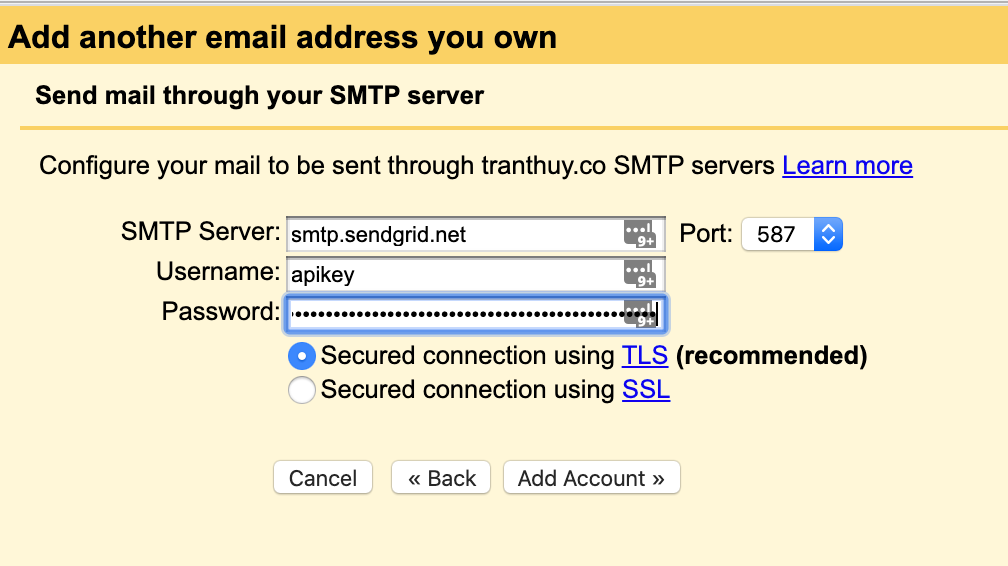
Now click Add Account.
Step 9: Gmail will send a verification code to your email (e.g., myname@mydomain.com). Check your email for the verification code, enter the received code and finish the setup.
Step 10: now you can go back to your Gmail, try composing a new email. In the From field, you can select the "From" email

